
Activate Webcam on Remote: A Comprehensive Guide
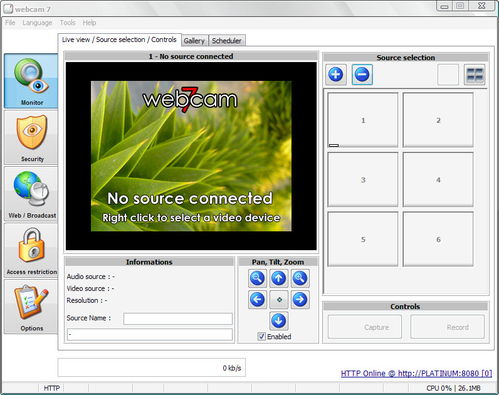
Controlling your webcam remotely can be a convenient feature, whether you’re working from home, attending a virtual meeting, or simply want to share your screen with someone else. In this detailed guide, I’ll walk you through the process of activating your webcam on a remote device, covering various aspects such as compatibility, software requirements, and troubleshooting tips.
Compatibility and Requirements

Before you start, it’s essential to ensure that your webcam and the remote device are compatible. Most modern webcams are compatible with a wide range of devices and operating systems, but it’s always good to double-check. Here’s a quick overview of the requirements:
| Webcam | Operating System | Device Compatibility |
|---|---|---|
| Logitech C920 | Windows, macOS, Linux | Desktops, laptops, and tablets |
| Microsoft LifeCam Studio | Windows, macOS | Desktops, laptops, and tablets |
| Apple iSight | macOS | Mac computers |
As for the remote device, it should have a compatible operating system and the necessary software to connect to your webcam. For instance, if you’re using a Windows PC, you’ll need a remote desktop software like TeamViewer or AnyDesk. Similarly, if you’re using a Mac, you can use built-in features like Screen Sharing or third-party applications like VNC Viewer.
Setting Up the Remote Device
Once you’ve confirmed compatibility and have the necessary software, it’s time to set up the remote device. Here’s a step-by-step guide for both Windows and macOS:
Windows
- Download and install the remote desktop software of your choice (e.g., TeamViewer, AnyDesk).
- Open the application and create an account or sign in if you already have one.
- On the remote device, share your screen by clicking on the “Share” button and entering the ID and password provided by the remote desktop software.
- On the local device, enter the ID and password to establish a connection.
- Once connected, you should see the remote device’s screen on your local device. Now, you can activate your webcam by clicking on the “Start Video” button in the remote desktop software.
macOS
- Open the “System Preferences” on your Mac.
- Click on “Screen Sharing” and then “Share Screen.”
- Enter the password to secure your screen sharing session.
- On the remote device, open the “Screen Sharing” application and enter your Mac’s IP address or hostname.
- Enter the password to establish a connection.
- Once connected, you can activate your webcam by clicking on the “Start Video” button in the “Screen Sharing” application.
Troubleshooting Common Issues
While activating your webcam on a remote device is generally straightforward, you may encounter some issues along the way. Here are some common problems and their solutions:
- Webcam not detected: Ensure that your webcam is properly connected to the computer and that the drivers are up to date. You can also try restarting the computer or using a different USB port.
- Video quality is poor: Check the internet connection on both devices. A slow or unstable connection can cause poor video quality. Additionally, try adjusting the video settings in the remote desktop software.
- Audio issues: Ensure that both devices have their microphones and speakers enabled. You can also try adjusting the audio settings in the remote desktop software.
- Connection drops: Check for any firewall or network settings that may be blocking the connection. You can also try using a different network or contacting your internet service provider for assistance.
By following this comprehensive guide, you should be able to activate your webcam on a remote device without any issues. Whether you

